Place Responsive Ventures and Options for Storywork
Examples of activities for place-responsive teaching and learning, embodied inquiry, digital storytelling, and in situ storywork.
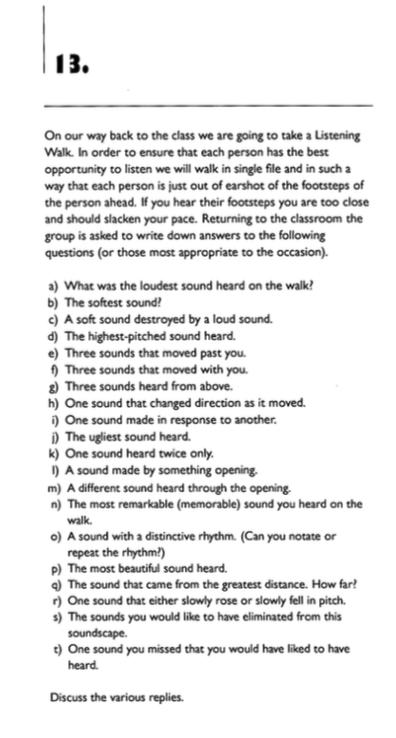
Soundwalks
Soundwalk Resources:
|

Astounding video on Soundscapes from Murray Schaeffer himself. Sorry, can't find the original without Spanish subtitles.
|
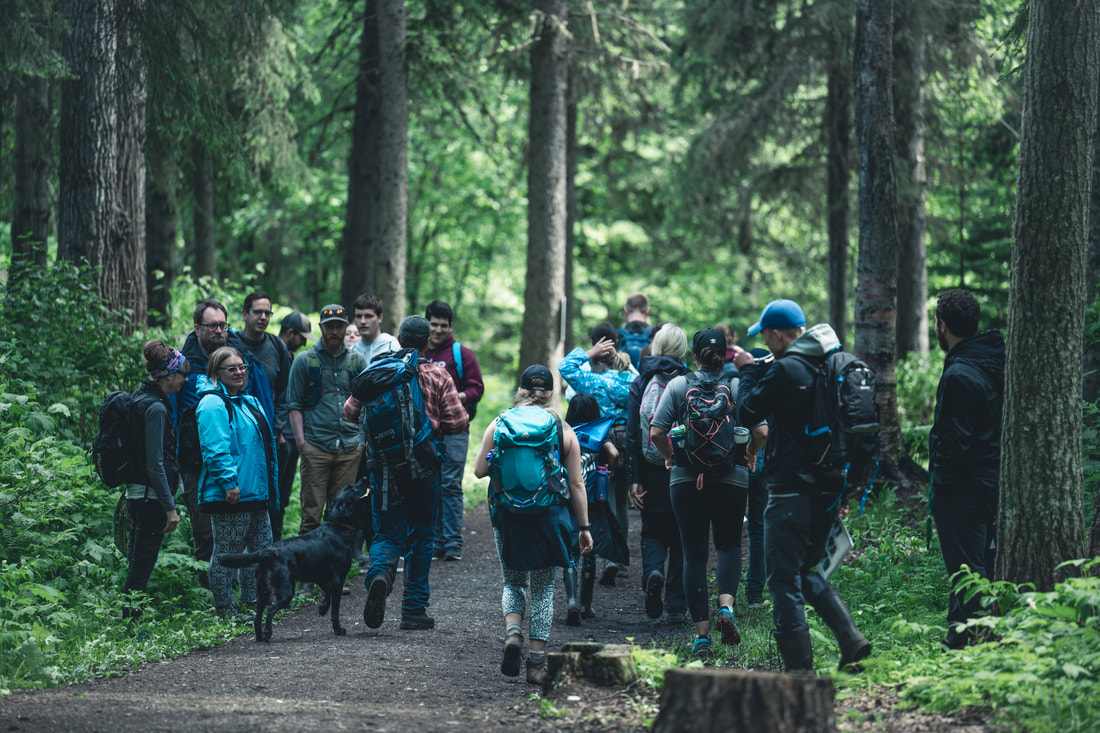
Walking Curriculum
|
|
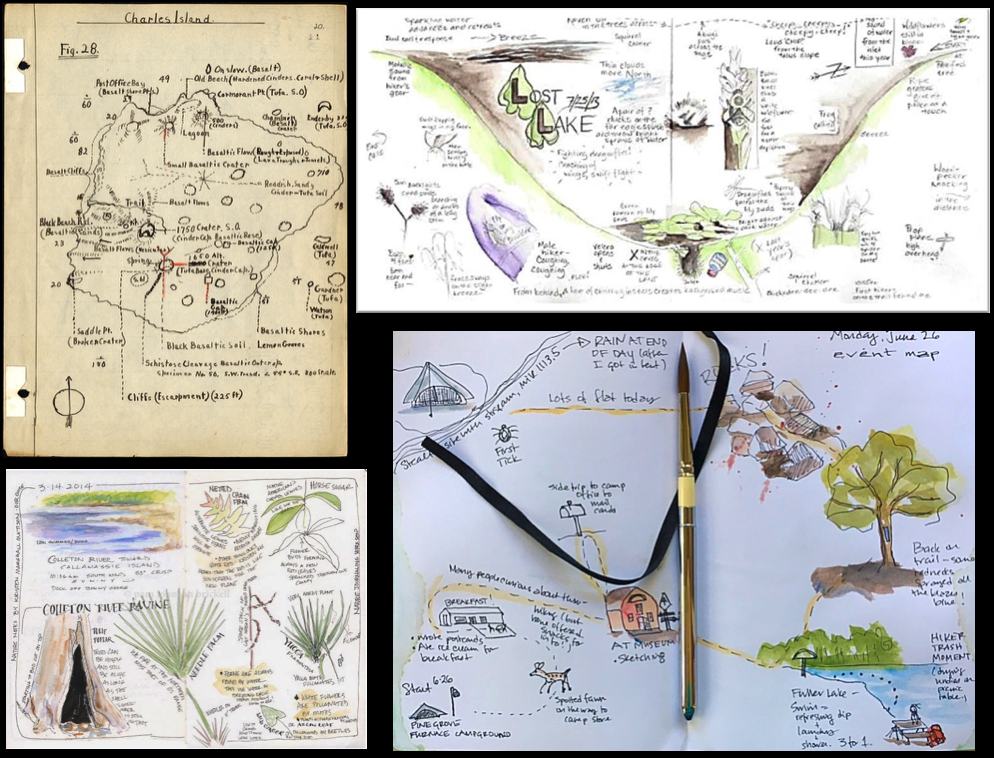
Field Journals, Event Mapping, and Nature Journalling
|
|
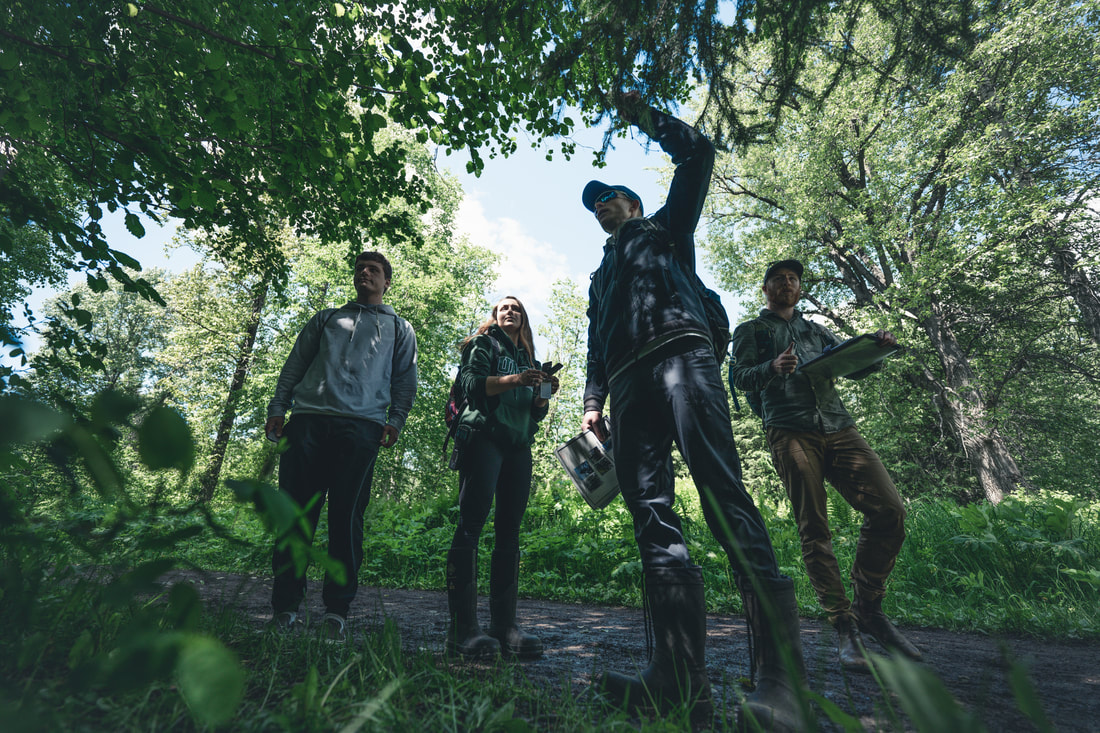
Landscape Inventories
|
|
Community Inventories
- Inventories can take many forms and can be adapted for different ages and purposes. The design, medium, ways of categorizing, and amount of collaboration is all flexible
- A basic inventory makes use of:
- a map with notation/annotation (with the potential to morph into a report),
- relates to a defined space (e.g. a 1km radius from the school, a neighbourhood, a city, a region), and
- builds off of a purpose or responds to an inquiry or question.
- Examples of questions that can be answered with a community inventory:
- Where is the closest water to our school? tallest point? lowest point? biggest building? oldest business? newest business?
- Where are the “best” trees to be found near our school (e.g. tallest, shadiest, most interesting bark, oldest-looking, damaged, lovely example of a particular species, etc.)
- What (and where) are some examples of climate resiliency in our community? Where are examples of climate stress? Where are sites with strong potential to shift from stress to resilience?
- How does my school relate to the community and the community relate to the school?
- What (and where) are some “social justice” hotspots in the community (e.g. sites that feature profound needs)? How do these places relate spatially to the services that can or do offer support for the identified needs?
- The inventory can be the basis of further inquiry, e.g. community interviews
- Debrief and supplies will be similar to Landscape Inventories (see above)
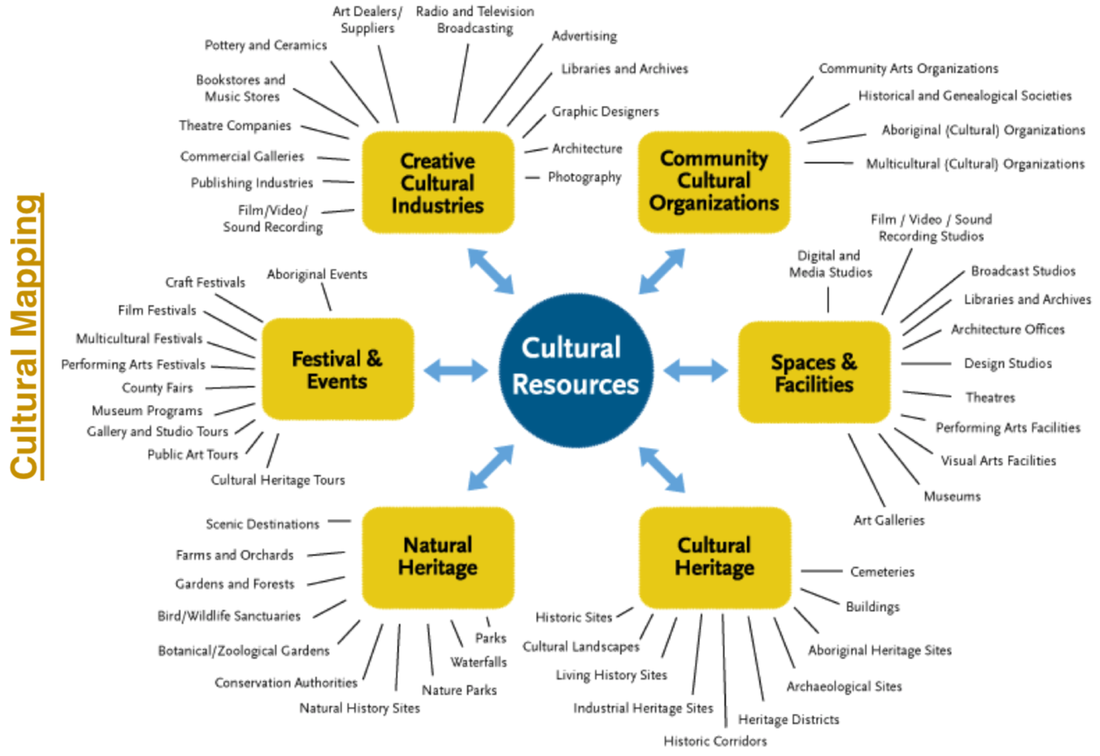
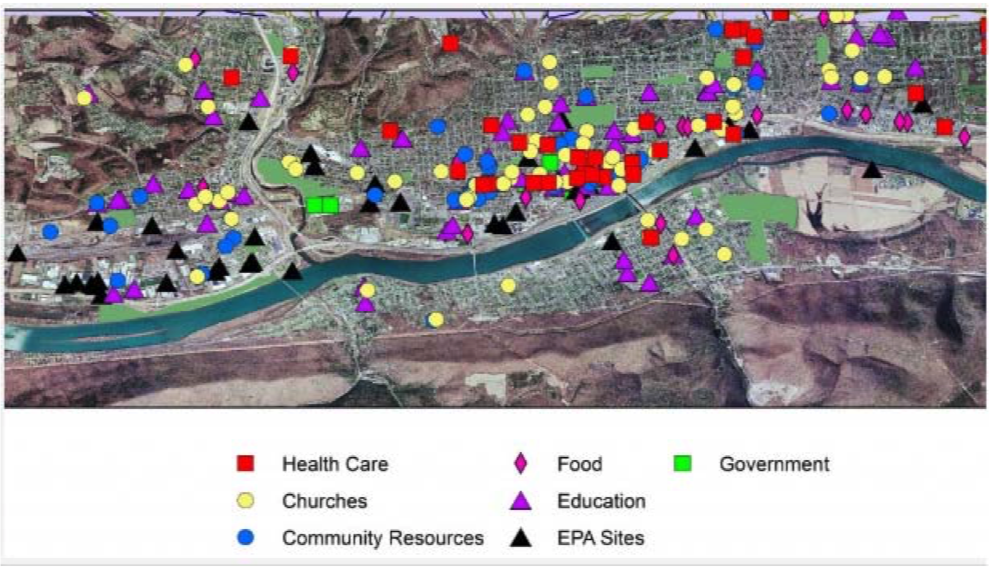
- Related topics: community asset mapping (see images below), inquiry into cultural landscapes or historical environments
- Community Inventories are similar to Social Mapping (see below)
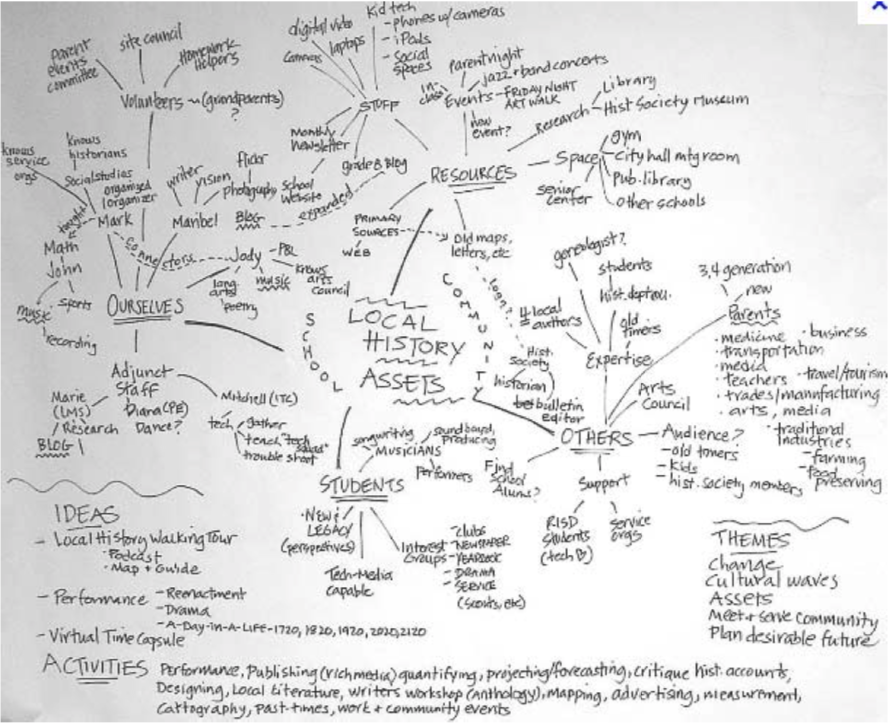
Source: https://www.eastgrandregion.org/wp-content/uploads/2020/09/Intro_to_Community_Asset_Mapping-1.pdf
Source: https://www.eastgrandregion.org/wp-content/uploads/2020/09/Intro_to_Community_Asset_Mapping-1.pdf
|
Source: https://www.eastgrandregion.org/wp-content/uploads/2020/09/Intro_to_Community_Asset_Mapping-1.pdf
Source: https://bmcmedresmethodol.biomedcentral.com/articles/10.1186/1471-2288-13-96/figures/7
|
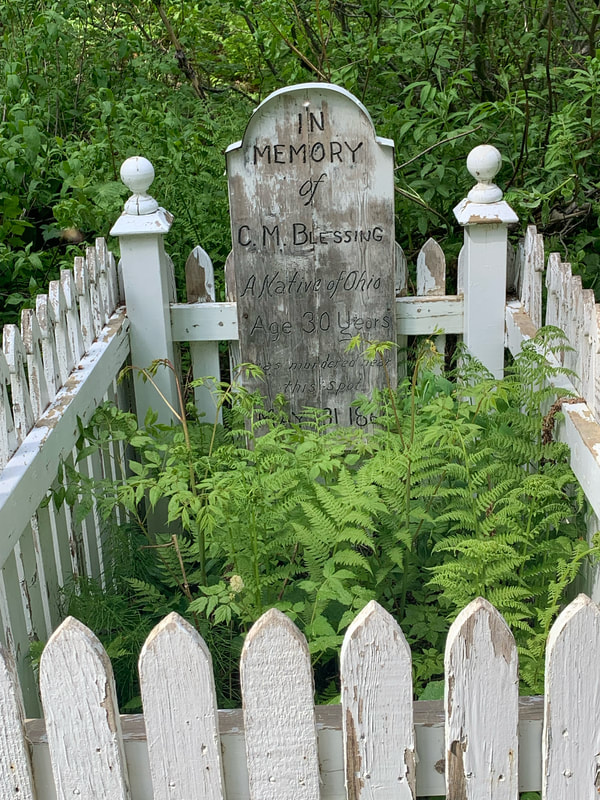
Narrative Fossicking
|
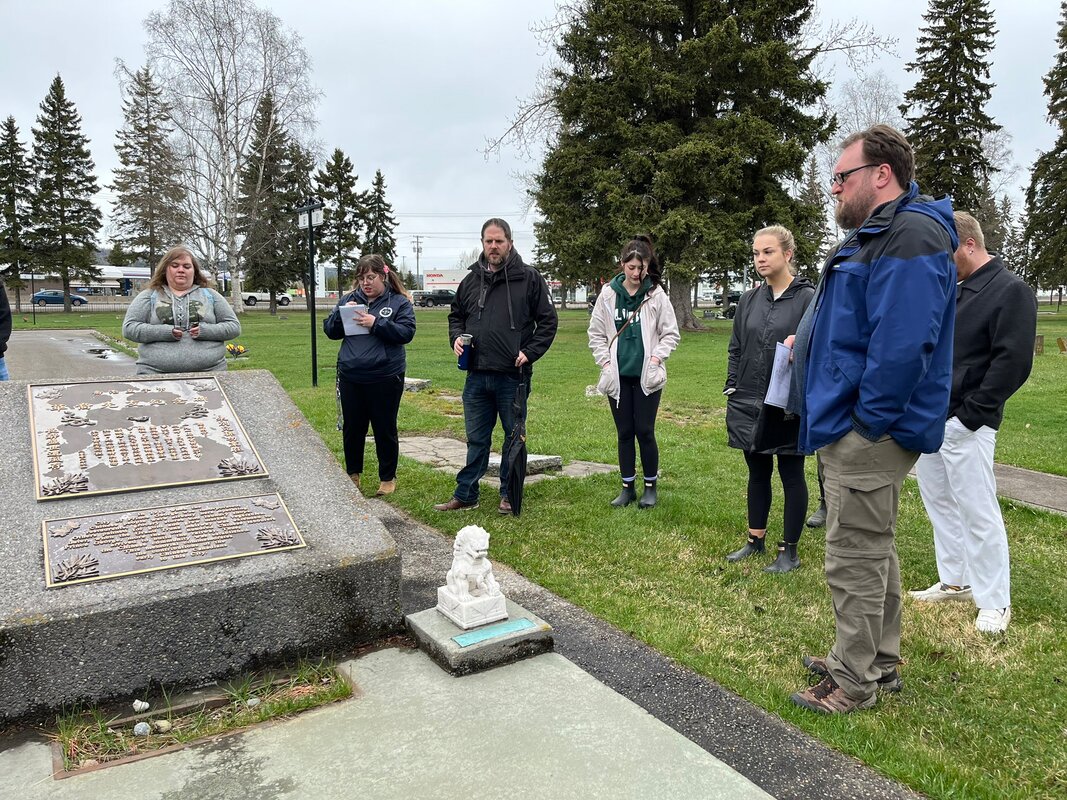
Memorial to Chinese-Canadian railway workers and others at the Fraser-Fort George Regional Cemetery. Photo: G. Thielmann
|
ArtStart
|
|
PhotoStories
|
Source: Emma Sayle https://twitter.com/miss_sayle/status/1537276827659427840/photo/2
|
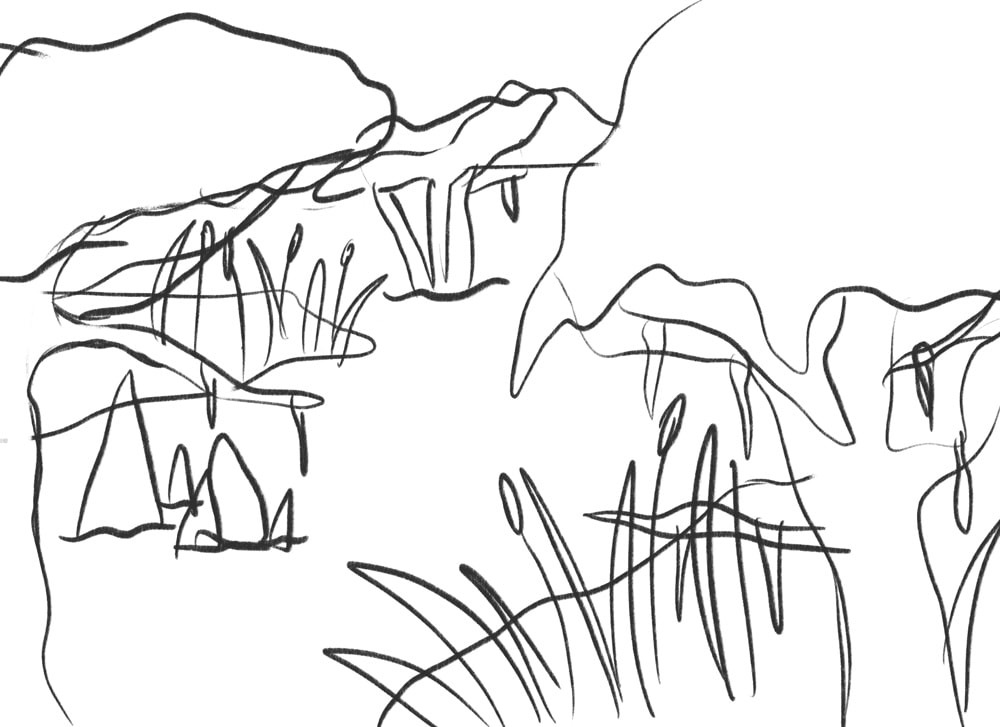
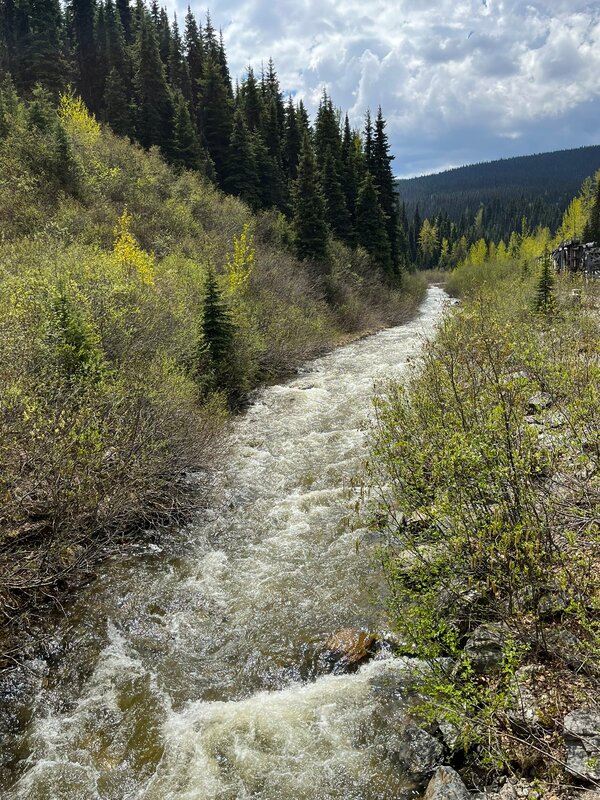
RePhotography
|
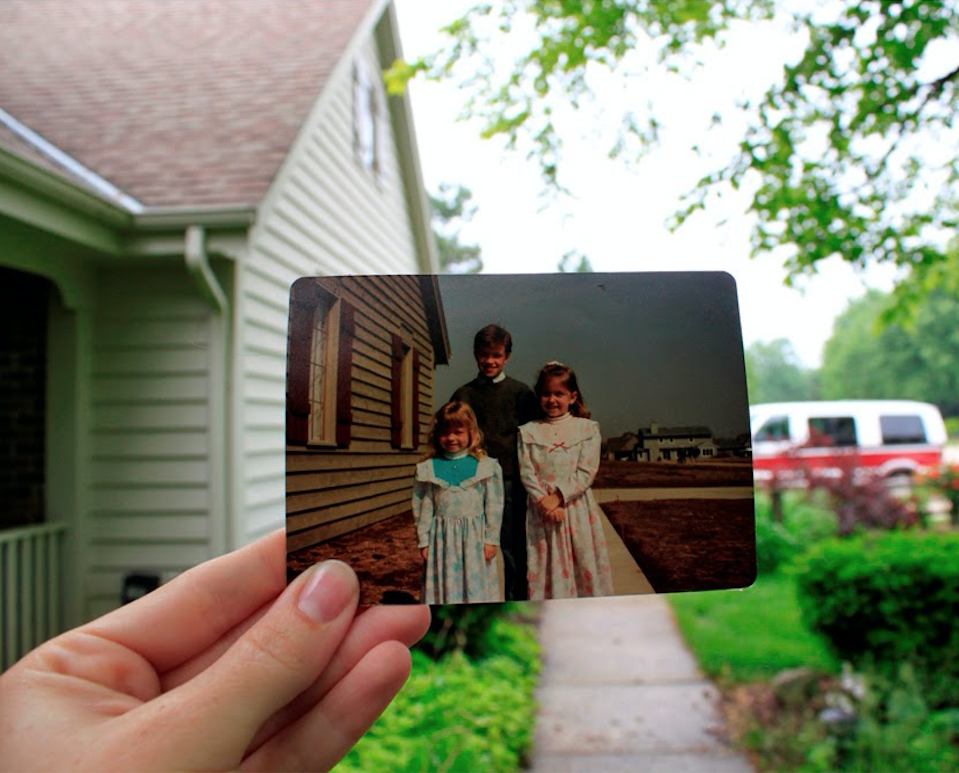
Source: http://www.boostyourphotography.com/2013/05/rephotography-dear-photograph.html
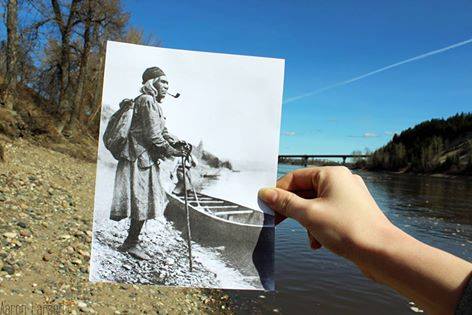
Source: https://www.facebook.com/daybreaknorth/photos/unbc-history-student-aaron-larsen/10153922497771690/
|
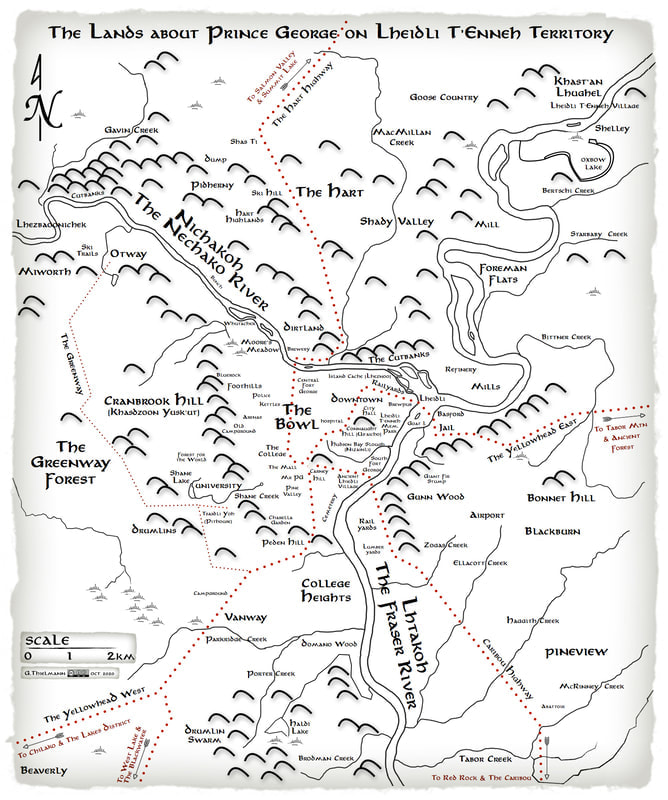
StoryMaps - Google Earth Narrated Tours
|
Google Earth allows users to pinpoint locations (retaining the angle and vantage as the user intends) and create tour. These tours can be narrated (live or recorded) and exported with a .kmz extension – these files can be opened up again in Google Earth (e.g. for the teacher or class to see) and played as a narrated tour. In the example shown here, the pinpoints relate to glacial and fluvial geographic features that can be seen around Prince George, BC. A tour using this pinpoints could be narrated with geomorphological definitions, descriptions of what a person would see at this location, or other "stories" of place.
Tutorials are easy to find online for navigating Google Earth, creating and exporting a tour out of pinpoints, and narrating a tour. Makes for an interesting way for individuals or groups to tell stories that involve place, and can be used as a method of assessment. Motivation is highest for this assignment if it helps activate recent learning and provide an outlet for expressing understanding. In other words, this should not be the first strategy for teaching content related to place, unless the student is already quite familiar with either the places involved or the features being explored. Debrief: share the tours in a series of presentations, as a gallery (with laptops), or virtually (posted to a central site, such as a blog, with invitations to view and respond) |

Supplies/Prep: computers with Google Earth installed (can also use web version). Phones are an option, but the small screen is a limiting factor for for creative workflow. The teacher will want to try making a tour first, to see what is involved, and settle on a method of teaching the students how to get into it, even if it is just picking the most useful and relevant tutorial for the intended product.
|
StoryMaps - Digital Map-Based Storytelling
Storytelling may be done with digital mapping tools. ESRI Education/ArcGIS, using Geographic Information Systems, is one way to go, but other platforms exist. The ESRI StoryMaps site and software used to be free, and might still be with a proper account, but I have not investigated in a while.
Debrief / Supplies / Prep: see Google Earth Narrated Tours above
Debrief / Supplies / Prep: see Google Earth Narrated Tours above
|
|
Sense of Place Maps
|
A particular interpretation from http://www.faculty.umb.edu/peter_taylor/SenseOfPlaceMap.html:
"A Sense of Place Map is a picture in whatever form occurs to you that addresses three questions:
Although text is allowed in a Sense of Place Map, the shift of emphasis from verbal or textual reporting to pictorial representation allows new insights to arise or be brought to the surface. This is akin to the effect of Freewriting. As in Freewriting, there should be no obligation to share or display your work. However, discussion of the typically diverse aspirations and trajectories of group members that emerged through this exercise can be thought-provoking. A Sense of Place Map may be drawn at the start of a project to provide an impressionistic picture of your aspirations. Or it may be drawn at the end of the project to place the project into a longer trajectory of your work and life. These uses of a Sense of Place Map evolved from a more ecological version in Thomashow, M. (1995). Ecological Identity: Becoming a Reflective Environmentalist. Cambridge, MA: MIT Press." Debrief: gallery walk - static (displayed, possibly with an opportunity to leave feedback) or dynamic (creator is there to provide talking points or Q & A), or a round of presentations. These tend to be quick presentations, so I prefer a live round. Supplies: any media can work for this, from paper to digital to found objects (e.g. plant material, random junk). Students may need to consult existing maps of the area they are representing. |
|
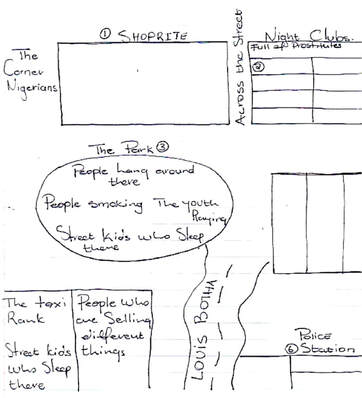
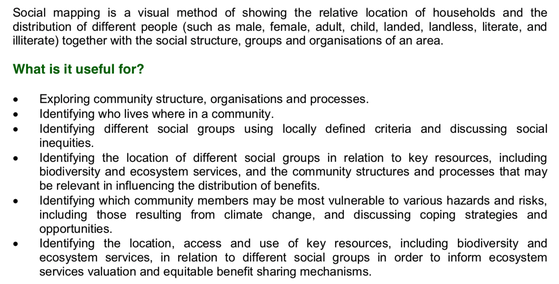
Social Mapping
Social mapping is a way of building a community inventory that highlights a dimension of interest such as climate resiliency, social services, ecological diversity and so on. Social maps are similar to Community Inventories (see above), although they tend to be used in different contexts. One of the best explanations of social mapping, as well as instructions for making social maps, comes from Flora & Fauna International via https://www.fauna-flora.org/app/uploads/2017/11/FFI_2013_Social-Mapping.pdf:
|
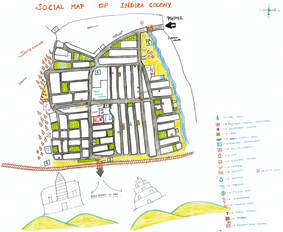
Example of a social map from an interesting article on social mapping: https://www.tandfonline.com/doi/full/10.3109/0142159X.2012.670321
|
For Debrief / Supplies / Prep: see Landscape Inventories above